Thursday, February 23, 2012

WARM WISHES QUILT


WARM WISHES 
free pattern
https://tinyurl.com/2y7ewmya


A friend emailed she was going to make a quilt using the "Warm Wishes" pattern.  She commented how each quilt looks ,different according to what fabric you use. 

Warm Wishes is a fall back pattern  for me when I need a quilt quick.

I love you can feature  specialty fabrics because  the pattern frames the blocks, unless you choose wrong in the framing fabrics.  The Quilt on the left is an example of my poor choice.  Or was it a poor choice?  I didn't notice till the quilt was going together that the large black strip in the middle destroyed the framing.  I had thought I did great framing the blocks with green.  When I finished and looked at the quilt I realized the black hadn't taken the roll of background behind the framed blocks.

I added the yellow in the border to draw the eye away from what I considered a mistake in my design


The quilt on the right is the first warm wishes quilt I made.  It was for my grandson.  The fabric is fireman fabric. I used what I had in the stash to make.  To add a little personality to it I pieced the ladders in the border, repeating the ladders in the fabric. 

You can see the definite framing of the blocks in this quilt.


In the following blog I wrote about the pattern you  can see how what you choose to use for the rails effects the outcome.     http://gloriouscreations.blogspot.com/2011/02/three-wishes.html

This quilt is the fist time I ever pieced with flannel.  I used what fabrics I had.  I let the yardage of the fabric dictate where they would be used.  (You'll also note on the right hand side there is not a finish framing.  I wanted to use all the blocks I made and this was what came of it.


I have used the pattern to make a small commemorative quilt. http://gloriouscreations.blogspot.com/2011/03/warm-wishes-again.html


This is my grandaughters quilt.  I found when you use a color in the narrower sash that is in the background of the block it tends to melt into the quilt loosing the framing look.

Left is the most recent quilt I made witth this pattern.  It is flannel, made for a young lady who loves purple.   This is another quilt I let the yardage dictate where I used what.  I wanted to clear the stash of the pink flannel.

I have made other Warm Wishes Quilts and not taken their pictures (they were picture worthy but camera wasn't handy before they were gifted). 


Please try this pattern in flannel.  The quilt is very soft and warm.   I recommend this pattern to a novice piecer (don't forget to pre-wash your flannel in hot water to shrink and tighten the weave.)  The use of a walking foot is highly recommended when using flannel.


A Warm Wishes Quilt,
made with love, being loved.

 New Article on my blog: 
"A MYSTERY IN THE MAKING"
A mystery quilt designed with the novice in mind
 
Other blog sites by me:
 
Where I have stories of my cats and other pets
a blog about my courtship with my husband,
and a blog about my most embarrassing moment.
A "Soap box" blog where I do air my opinions.
 
blogs about the wildflowers on our farm
Organic methods we use, some cooking and some poetry,
blogs about Seed sprouting, insects, and garden pictures
Blog about an endangered beneficial beetle
New Blog:
 
All recipes, pictures, and writings are my own.
I give credit for items which belong to other people in my blogs .
Please do not copy without permission

Monday, February 20, 2012

A WEDDING DRESS FOR BARBIE

When Barbie decides she is getting married her dress will have to be sophisticated, romantic, and very feminine.  It won't be a short modern one, or something with so much lace she would feel like Queen Victoria.  I have designed a dress for a demure sweet Barbie. 


Every bride's ensemble begins with how she feels.  She wants lingerie which is too special to use for any other occasion.  She wants to feel special from the inside out. 

The slip doesn't need to be mundane.  We have "something blue" in the ribbon lace around the hem.   The lace in the slip is from her grandmother's wedding dress. The dress was too small to alter to wear.  She wanted to use  the lace some way in her dress.
Matching panties with a blue ribbon garter complete the lingerie ensemble.  Barbie's dress has a self bra in it so she doesn't need a separate bra.


Her veil needs to be something she will feel Queen for the day wearing.  It needs to envelope her giving her a mysterious feel and illusion.  It needs to say, "She's special", to anyone viewing her.  To give her veil a special meaning her head piece was made with a broken strand of pearls from her grandmother. the extra pearls were strewn over the rest of the veil.

Some of the pearls were incorporated into her bouquet.  White Roses remind her of the climbing rose bush in her grandmothers garden.


Barbie's dress is simple.  She chose ice white satin to highlight the use of the lace from her grandmother's dress.  She used the pearls from gram's necklace on her bodice.  Barbie is well endowed but she doesn't flaunt it.  She needs a dress that acknowledges that fact with out distorting or putting on display the feature. 


Barbie has taken time to put on her dress.  The back is very plain because she has beautiful wavy tresses which will be covering it up.  The lace from Grams dress is tastefully used around the base of the gown.

Barbie's Gram is not able to attend the ceremony but she will be there walking down the isle with Barbie.

A BEAUTIFUL BARBIE, READY TO WALK DOWN THE ISLE. 
Barbies clothes were made from a discarded wedding dress and a broken string of pearls..

 New Article on my blog: 
"A MYSTERY IN THE MAKING"
A mystery quilt designed with the novice in mind
First Clue to be presented October 16.
 
Other blog sites by me:
 
Where I have stories of my cats and other pets
a blog about my courtship with my husband,
and a blog about my most embarrassing moment.
A "Soap box" blog where I do air my opinions.
 
blogs about the wildflowers on our farm
Organic methods we use, some cooking and some poetry,
blogs about Seed sprouting, insects, and garden pictures
Blog about an endangered beneficial beetle
New Blog:
 
All recipes, pictures, and writings are my own.
I give credit for items which belong to other people in my blogs .
Please do not copy without permission

Sunday, February 19, 2012

FOR THE LOVE OF DOLLS

"A SELF PORTRAIT DOLL"
I'm not even close to being an expert doll maker or clothier.  I do have fun with the craft.  I wish I'd taken pictures of the doll clothes I've made and the dolls I've dressed and the dolls I made.  Not to mention the bears and sock monkeys I've made.  You see it was the sock monkeys I blame for any other dolls I made or dressed. 

To be completely honest the obsession came when I was taught to sew at  three years old.  My mother started me with a running stitch and I made a tee shirt for my "Tiny Tears" doll.  It progressed to learning how to embroider a lazy daisy stitch and a stem stitch on the items I made.  When I was six maybe seven, I know I was in school and it was before I was in the 3rd grade I was given a real sewing machine.  It was portable and in a red leather case. I have no idea what brand it was or where it is now.  But it was real.  It had a foot pedal on the floor.  I  have to say it was my very favorite gift I ever received.  I  don't remember anytime making stuff with it but I do remember the day I broke it, somehow the needle jammed.  I know now that it knocked the timing off in the machine   That was the last time I ever used it and I have no idea what happened to it after that. 

I do know the thrill my granddaughter experienced when she was totally surprised by her machine when she was 6.  I remember the moment I was given mine.  Through the years I dressed my Ginny dolls and my Toni doll. Because I no longer had a machine I did them by hand.  When I was eleven My mother bought a portable Singer with boxes of cams.  At that time she was expecting my youngest sister and she never had time to take the lessons to use the machine.  She told me to go take them.  I felt so grown up walking into the classroom with all the adults (I even took the city bus to get to the store).  There were 10 students.  The instructor told us to pick out a pattern and make an out fit.  There would be 10 lesson/sewing sessions and  at the end of the lessons there would be a fashion show and awards given out.

Mom and I went shopping at Penny's.  Back then they had a fabric department.  This was the beginning of my fabric addiction.  I was in heaven despite the headache I had when I left.  I know now it was the formaldehyde in the fabric.

Now most of my sewing time is spent piecing quilts. 

I dug through my pictures on the puter and found two dolls I rescued from the trash and dressed.  I remember the handful of cream rinse I had to use on their hair to get it combed out and The bottle of fray check I used making their clothes. 
This Doll on the left I called "The Asian Diva".   Her Dress was made from the lining of a 1930 mens wool suit.  The dress and coat were lined with tafetta from another old dress. If you look close you will see a miniature "frog" at the waist.  I made it using a large needle.

The doll on the right I called "Valentine Blondie".  Her dress was the wade from the top of a cocktail dress from the 40's.  The over skirt was an organza type fabric from a hat of the same era.  Her necklace is from beads of that era.  Both dolls went to new homes quite a while ago.    Both dolls have underpants and a bra on.  The bride in the background I still have and will have to take a picture of her. 

I don't think I ever out grew my love of dolls.

Other blogs I write:
Where I have stories of my cats and other pets 
a blog about my courtship with my husband,
and a blog about my most embarrassing moment.
New Blog Feb 17 on label reading.

blogs about the wildflowers on our farm
Organic methods we use, some cooking and some poetry
4 New blogs Feb 16-19 about Seeds sprouting, insects, and garden pictures

All recipes, pictures, and writings are my own. 
I give credit for items which belong to other people in my blogs .  Please do not copy without permission

GRAMMY'S JAMMIES

Sewing for the grands for me was limited to quilts, or so I thought.  I never seemed to pick the correct style, size, or color when I decided to make wearing apparel for the kids.  A couple of years ago the kids came for a visit over Thanksgiving (they live in Florida).  I knew they didn't have PJs for cold weather.  I told my daughter not to pack any sleeping clothes, I would have them here for the kids.  It was a good decision.  It decided to snow the day after they arrived.

This is the gown I made for the grandaughter.  I also made the matching pillow slips and a shaggy Quilt for her bed (we put a mattress on the carpet when they are here).

This is the grandson's Jammie's, pillowcases and matching shaggy.  The packages on the bed are gifts for the first night here.

Here they are dressed and ready for bed.  I was so glad they fit.  I had to guess at their sizes.

Jammies are fun and easy to make.  Something the kids enjoy.  Try your hand at a pair.  Remember to flat fell the seams.  Makes them more comfortable because they don't have raveling seams itching them.

In the following blog you will find a tutorial on flat felled seams.

Other blogs I write:
Where I have stories of my cats and other pets 
a blog about my courtship with my husband,
and a blog about my most embarrassing moment.
New Blog Feb 17 on label reading.

blogs about the wildflowers on our farm
Organic methods we use, some cooking and some poetry
New blog Feb 16 about Seeds sprouting 


All recipes, pictures, and writings are my own. 
I give credit for items which belong to other people in my blogs .  Please do not copy without permission

Thursday, February 16, 2012

FIVE PANEL BOXER SHORTS: tutorial

          BOXER PREVIEW
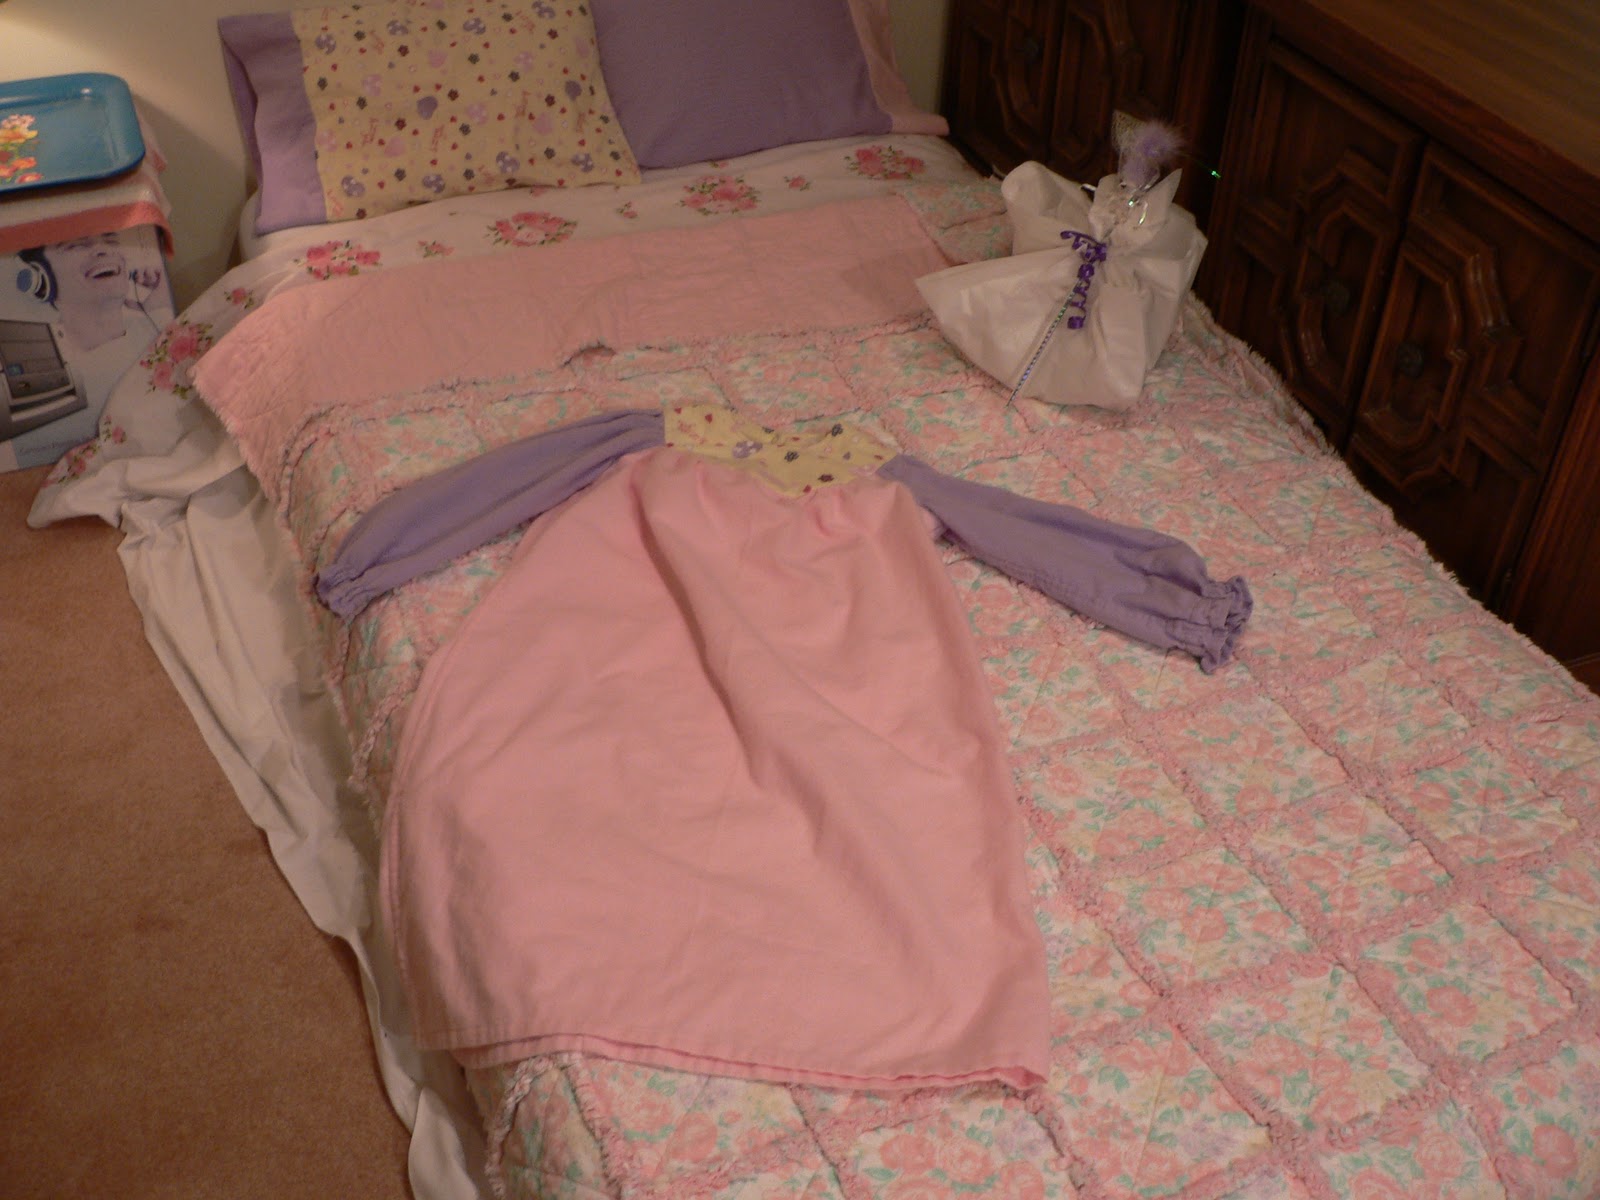
GRANDSON'S BIRTHDAY BRITCHES

Little ones, grown ones, male, and female, all seem to love 5 panel boxers.  They are not just underwear anymore.  My grandson thinks they are grand for all purposes.  I went looking for a pattern for shorts like the big guys wear and found a couple that were "short" patterns, but they fell short of what I really wanted.  I wanted to create the real thing.  It was time to search the Internet.  I learned, if I had done this first I would not have wasted time running to stores (I definitely would have saved the money spent on impulse purchases at said stores).

I also ordered the adult version.   The patterns arrived at my doorstep with in 2 days.

If you're a novice at sewing, this pattern might be a little difficult, but if you have patience and follow the instructions to the letter you will be successful.  The instructions are very good and easy to follow.  I would suggest you make your first pair out of an old piece of sheet or other soft fabric.  (Do not use flannel for your first pair.  Working with flannel has its own difficulties.)  You will be able to make mistakes and if need be, cut a new piece and start over.  When you successfully finish you will have a pair of shorts which would be perfect for sleeping shorts.

If you will be using your pattern for more than one size you will need to trace or copy it on the copy machine.  I used a note book which I put in cellophane sleeves, each sleeve holds a different size.  I cut the instructions apart, they are odd size.  I put each section in its own sleeve.  (The adult pattern is on the left, unused as yet.)

The first pair you make may be confusing and time consuming.  The next pair will take you half the time.  As in all projects if you have all your "necessaries" together it will go faster.

"NECESSARIES"
Necessaries, clockwise from left:  Pattern, new needles, bobbins, frog and star fabric, post-its, sewing machine, fray check, sharpie, pen, scissors, tape measure, glasses, elastic, thread, more frog fabric (straight pins missing).  LOL, see how necessary it is to organize stuff before you start. 

You will notice I have two colors of thread which do not match the fabrics, but are in the same color family.  When I construct the shorts I like to use the different threads.  It adds another design element  because of the flat felled seams.  If you have never done flat felled seams do not dismay.  They are not difficult, just time consuming.  In the "necessaries" I didn't put an iron.  This is a real necessity when making flat felled seams. Using the iron gives a more professional finish. 

In the pattern instructions you are told to put wrong sides together.  This confused me the first time because I usually do seams with right sides together (even flat felled ones).  The reason this is done is to put the bulk of the seam on the outside of the shorts.  It is for comfort.

GETTING READY TO SEW:

If you haven't changed your needle in your machine in a while, now is a good time to do it.  You will want a larger needle for sewing through thicker seams and attaching the elastic.  I use a #14 (If you have a heavier weight fabric like flannel the larger needle is necessary).

Fill your bobbins.  You might need two, remember every seam you sew you actually sew two seams because you are flat felling them. (The pair I made for this tutorial only took me one bobbin.)

Make sure your machine is threaded properly.  Test it to make sure your tensions are correct.

Pre-read the entire pattern to familiarize yourself with the steps and make sure you have all the "necessaries".  The elastic mentioned is a must.  A normal elastic, which is narrower, will not give the same effect.  I purchased mine at Hancock Fabrics.  It was $1.79 per package of 36 inches.  I was there on a notions 40% off  day so I bought their last 3 packages.

Have your pattern pieces ready and make sure they are all copied in the size you need.

HINT:  If you didn't pre-wash your fabrics, I highly recommend you do.  Take a break and do it now.  Cottons shrink, especially flannels.  It would be a shame to put all the work in a pair of shorts and have them come up "short".

CONSTRUCTING A FLAT FELLED SEAM :
Step one (left side of picture):  Put wrong sides of fabric together and stitch your seam.  The pattern calls for 1/2 inch seams.  I am more comfortable flat felling a 5/8th inch seam.  To compensate for the deeper seam I use the next size up patterns.

Step two (center of picture):  Open the seam out.  Trim one side of the seam down to 1/8th inch (Do the side the pattern suggests).

Step three (right side of picture):  The untrimmed side of the seam is pressed over the trimmed side.  Now turn the untrimmed side under and pin down.  Top stitch down.
                           FINNISHED SEAM
This is just a sample, I recommend if you haven't made a flat felled seam before, make your own sample before beginning your boxer construction.

TIME TO BEGIN THE FIVE PANEL BOXERS:
Iron your fabrics and your pattern.  Wrinkles do make a difference.  Pin your pieces according to the instructions in the pattern.  Cut them out, mark them, and proceed with the construction in the order instructed. (Mark the fabric where indicated.  I use a pen or a sharpie (rather than cut into the edge of the fabric.)  For the dots I do the same thing.  If the ink will show on the fabric then I use a pencil which washes out.)

Since the fabric is dark colored I will transfer the markings with my sharpie (there are black spots on the fabric  and the marks won't be noticed if they show in the final garment.)  If you clip the marks into the fabric you might have trouble flat felling the seams when you come to a clipped place (I do).  Transfer marks after you cut out the pattern pieces.
PATTERN LAYOUT:  The pattern has several layouts.  The following is how I layout mine.  (I can't stand to waste fabric.)

Notes for novice seamstresses will be highlighted in red.   

Be sure you follow the notes on the pattern pieces that say "straight of grain".  Straight of grain means position your pattern parallel to the selvage.  How the fabric hangs when made into a garment is affected by this.

The frogs on this fabric don't have a direction so the direction of the pattern pieces doesn't matter (but the straight of grain does).  If you have a fabric with a direction, make sure you have all your pieces laid out the same dierection. You will notice I didn't use the other fabric.  It wasn't a large enough piece to position any of the pieces on it. 

They suggest you check off the steps as you go.  This is where I use the post it notes.  I don't like to write on my patterns.  I also use post-its to write notes when I find ways of executing a procedure which is different than what is instructed but is helpful to me.

Boxer construction:
The crotch area has "stay stitching".  Do not miss this step.  Sew the direction instructed.  Use tiny stitches.  If you are using the deeper seam allowance that I do, do not use it here.  Use the 1/2 inch  you are instructed to through the entire placket construction.  Stay stitching strengthens the area and keeps the bias edge from stretching when the final seam is constructed.  Don't forget to reset your stitch length for regular stitching. 

JOINING PIECES "B" AND "C":

Use straight pins when joining your fabric pieces. I.E. joining B & C.  Match the notch markings.  When you flat fell the seams don't forget to pay attention to which side to trim, it is important.

When pinning the flat felled seam, use the "bias" of the fabric to help you round the curve pinning it down (when I pin I start at the center of the curve and pin outward each direction.)
ELASTIC:
The instructions for attaching the elastic are excellent. If you don't have "T" pins, use your straight pins.  Remember when you stretch the elastic it is pulling against the attaching pins so pin your pins across the end not parallel to the waist edge.  Use at least 2 pins, one pointing up and one pointing down (if you don't have "T" pins).  If you have trouble getting the point to come back up when you put them into the ironing board, get a serrated steak knife or a grapefruit spoon and use the edge to press down on the surface of the cover just an nth beyond where the point is to come up (it will pop right up).

When you are pinning the elastic to the fabric put something between the ironing board cover and your fabric. (I use a heavy plastic note book insert.  A piece of cardboard would work too.)  The only parts of the shorts pinned to the board are the ends of the waist band (the remainder of the waist area is free so you can pin the elastic to the fabric.) 

When Stitching, it is very important to stretch the elastic out and keep stretching it out on each row stitched.

When you complete attaching the elastic the pattern suggests you use a steam iron.  For me it isn't a suggestion..it is an important step.  It tightens up the gather and gives the waist band a professional look.  The instructions say a few inches above the elastic.  (If you touch the elastic you will melt it and destroy it's rebound tension.)  I do it very close, about 1/2 inch above the elastic.  Do not test the elastic by stretching it until it is very cool and perfectly dry. 

Placket:
When you are working on the placket, after you have attached the elastic, you will encounter instructions for Clipping at the crotch area.  Follow them exactly.   At this point I use my "fray check".  I put it on the edges exposed by the clips, especially at the inside point.  If you don't have fray check it is not necessary.  I use it because I feel, if there was a weak point anywhere in the construction it is here. 

Crotch:
When I clipped the left crotch seam I spaced the clips every 3/8 inches instead of the 1/2 inch suggested (I left 1/2 inch unclipped at each end of the seam).  I clipped to with in an 1/8 inch of the stay stitching.  This permitted the fabric to fold over at the stay stitching better.

Pinning the the crotch seam:  I used my hard white plastic sheet here to keep from pinning the front to the back.  After placing the left placket over the right placket and pinning in place, I tackled pinning the crotch seam.  This is not flat felled like the other seams.  Follow the instructions exactly. 

Align your left front clipped seam up with the stay stitching of the right front seam.  I overlap the stay stitching a smidgen to hide the stay stitching.  As you can see I pin with my heads to the right, not to the left like the illustration.  It is easier for me.  I also pin closer than suggested.  I am more comfortable with the added pins. Stitch as instructed.

When you turn the boxers inside out to complete the seam you will see why I "Fray Check".  Follow the instructions for trimming the seam and turning under and stitching.  At the end of the seam where it meets the placket you are supposed to turn that little diagonal under and stitch down.  I don't turn it under, but I do stitch it down and back stitch over it so it is stitched twice.  Using the "Fray Check" it will not fray (even after countless washings.) 

When I completed the "flat felling" of the crotch seam I noticed one side was longer than the other.  I measured each leg by placing one on top of the other and they were both the same width at the hem area.  I deduced I should trim it off even at the crotch.  I drew a line  from the crotch seam to the corner of the leg.  I will trim this off. and proceed with the next step in constructing the boxers.

The next step is to sew the placket closed.  Follow the instructions.

THE FINAL SEAM:
When you pin your back to your front at the crotch, if  either piece is longer than the other, pin the centers of the two pieces first (pinning out from the center.)  Now you can sew your seam.  Remember to have wrong sides together.  If you have been using the 5/8" seam in the rest of the construction you should use 5/8" seam here.  Construct your flat fell like you have been.  Pay attention to the correct side to trim.  When you are finished with the seam you can trim the area that is too long.  Use the procedure we used for the crotch when it was too wide (the picture on the left).  lay you legs out and square up and make your line where it is not even with the other parts of the leg.

HEMMING YOUR PROJECT:
A very simple step to do.  It is all done by machine.  I have simplified it for myself even more (albeit adding another step).  I take each leg and run a line of stitching around the bottom of it 1/4" from the edge.  This gives me an accurate edge to turn and press under.  It also gives a nice crisp edge when I am doing the final fold over and stitch down.  The only thing left to do is press the hem.
FINISHED BOXER FRONT
FINISHED BOXER BACK

I hope you have found this tutorial helpful in constructing your shorts.  I have been asked if it was worth it, being you can purchase them cheaply at the store.  For me it is,  No one else has a pair of shorts like my grandson's, and he loves them.
 New Article on my blog: 
"A MYSTERY IN THE MAKING"
A mystery quilt designed with the novice in mind
First Clue to be presented October 16.
 
Other blog sites by me:
 
Where I have stories of my cats and other pets
a blog about my courtship with my husband,
and a blog about my most embarrassing moment.
A "Soap box" blog where I do air my opinions.
 
blogs about the wildflowers on our farm
Organic methods we use, some cooking and some poetry,
blogs about Seed sprouting, insects, and garden pictures
Blog about an endangered beneficial beetle
New Blog:
 
All recipes, pictures, and writings are my own.
I give credit for items which belong to other people in my blogs .
Please do not copy without permission

Monday, February 13, 2012

HUSBAND'S SIMPLE GIFT

I had to write in to tell you, the below slippers are now re-soled.  This last week of March, 2018 the holes in the bottoms were too big to be ignored.  He loves the so much he was wearing them anyway.  I had a pair of jeans desperately seeking the rag box and thought, denim wears like iron.  I traced around the sole on the back of the leg fabric.  pinned the slipper sock to it and zig zagged around it.  then I cut it out just next to the stitching.  It was a breeze and I didn't  have to alter anything to apply it.  The old torn sole is inside adding a little cushion to the slipper.   The first ones lasted since 2012,  6 years!

I am lucky to have a husband who is very easy to please.  He delights in everything I do for him.  Years ago I was in Walmart.  I always peruse their clearance isle for anything from little gifts for the grands to stuff for the garden.  This day I found fleece slipper socks.  They were in outrageous pink and blue stripes and they were in an extra-extra large size, but they were only 50 cents each.  I bought 5 of them. 

Hunny never wears slippers and his feet are always cold.  He says he hates having any kind of shoes on when he comes home.  He saw the socks and put those huge things on and was in feet heaven.  The socks are showing wear and developing holes. 

This story is turning into a saga.  This week we have been overrun by mice seeking shelter from the cold.  Where they are getting in I don't know.  I am sure they knew this was a fabric hoarders house and they could find adequate housing.  Sure enough before they found their last meal some of them found the fleece.  It wasn't a large piece but it was a nice piece.  They shredded it in several places, harvesting nesting material. 
I ended up with several usable, albeit smaller sections.  I wondered if they would make good footies.  I retrieved one of Hunny's socks and made a pattern.

I sewed the pieces together with a zigzag stitch on the outside so the seams wouldn't rub his feet.  In two shakes of a sheep's tail I had new foot warmers ready to wear.  I am going to measure my foot and see if I can create a pair for myself.    The only thing this pair is missing is the elastic on the top. 

The new version.


Other blogs I write:
Where I have stories of my cats and other pets 
a blog about my courtship with my husband,
and a blog about my most embarrassing moment.

blogs about the wildflowers on our farm
Organic methods we use, some cooking and some poetry
Blog about Spartan Arrow Beans.

All recipes, pictures, and writings are my own. 
I give credit for items which belong to other people in my blogs .  Please do not copy without permission